Independent route planning begins with the group’s abilities and available time. This guide explains how to build a route, verify conditions, and prepare alternatives.
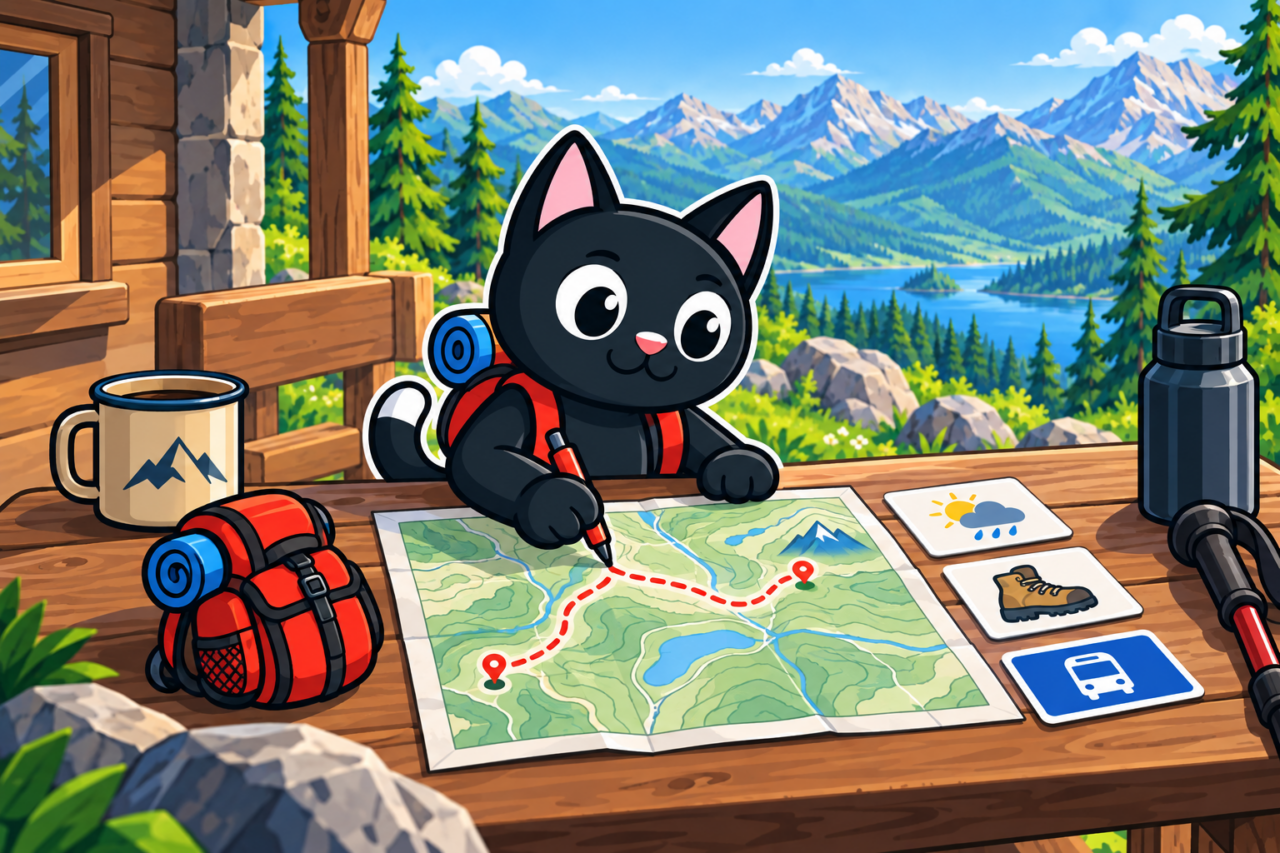
Gather information
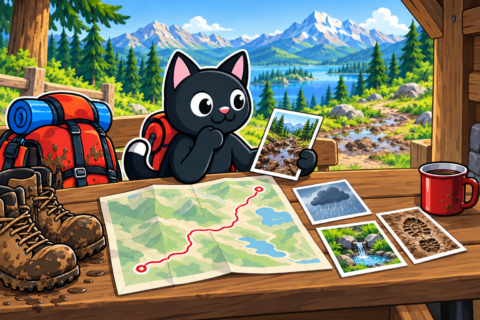
Use a terrain-and-trail map, official land information, and several reports from similar hikes. Compare dates and seasons because every report describes particular conditions. A summer account may explain junctions but says nothing about the same trail under snow. For winter, separate direction information from surface observations.

Each source has a different role. Understanding where information comes from shows which question it answers:
- a map shows where features are;
- a trip report describes one person’s experience;
- the land authority provides current access rules.

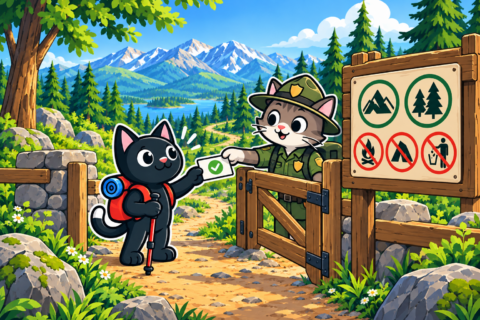
A clearly mapped trail may still be closed. One source is insufficient: the line shows location, while permission requires a separate check. Access information completes the assessment before a restriction is discovered after route selection.
Collect links, check dates, transport, and unknown sections in one note. After many pages, descriptions are easy to confuse. A saved link returns you to the relevant report. List contradictions separately and resolve them before travel.
Draw a draft
Join the start, desired places, and finish along existing trails and roads. Inspect every section at high zoom: an automatic planner may select a vanished road, closed passage, or incorrectly mapped access. A continuous overview can hide these problems. Detailed review checks the connections before they enter your plan.
Compare the elevation profile with the map to locate a long climb or series of short ones. A short distance may conceal a steep descent. If an important section is poorly described, find another source or choose a clear detour so the load estimate rests on known conditions.

Record distances between key points and estimate time from your experience on similar ground. Breaks, navigation, and rest add to movement, so one speed cannot describe the day. A familiar road is faster than dense forest. Estimating alternating sections separately reveals where time will be spent.


Plan transport both ways
Before finalizing, check the journey to the start and from the finish: the schedule for the date, boarding place, and transfers. A hike may fit the day until connection waits are included. If the last kilometers require a taxi, confirm both local service and whether a vehicle can use the road.
For an overnight trip, choose suitable campsites and water. For a day hike, mark rests and turnaround points. Show early exits and explain them to participants. A tired person understands what follows when the exit was discussed; a map label saying “road” alone explains little.


Consider delays
Mentally walk through the route, transport, and stops. Ask:
- What happens if transport is late?
- Where does the day end if the group is slow?
- What changes after rain?
- Where can you divert if a section is closed?
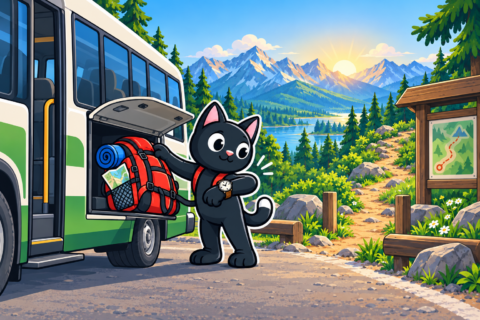


If an answer must be invented on site, improve the plan. Uncertainty about ending a slow day affects everything that follows. At home, compare the scenario with available alternatives so later decisions use prepared information.
Keep the mandatory route short and make extra destinations optional branches. After transport delays, omit them and complete the main line without rushing. Agree on omission criteria—time at the junction, condition, and weather—beforehand. Participants will understand why an extra point is skipped.
Save the map and share the plan
Download the map and test it offline. Save surrounding areas as well as the track; a line alone cannot show nearby alternatives. Notes at difficult junctions, start and finish coordinates, and backup exits connect the display with the plan.
Send participants a short plan with workload, departure time, and expected conditions. Give a trusted contact the route and return deadline, and agree on action after a missed check-in. Recheck weather and restrictions on the day because prepared information may have changed.

After the hike, add actual times, trail condition, and useful rest places. A note about a slow section explains why the estimate differed. Future plans can then compare intended load with your observations, including the surface and stops that produced the recorded duration.