A GPX track makes navigation easier but does not replace assessment of terrain and conditions. This guide explains how to prepare the file, follow the route, and use the recording safely.
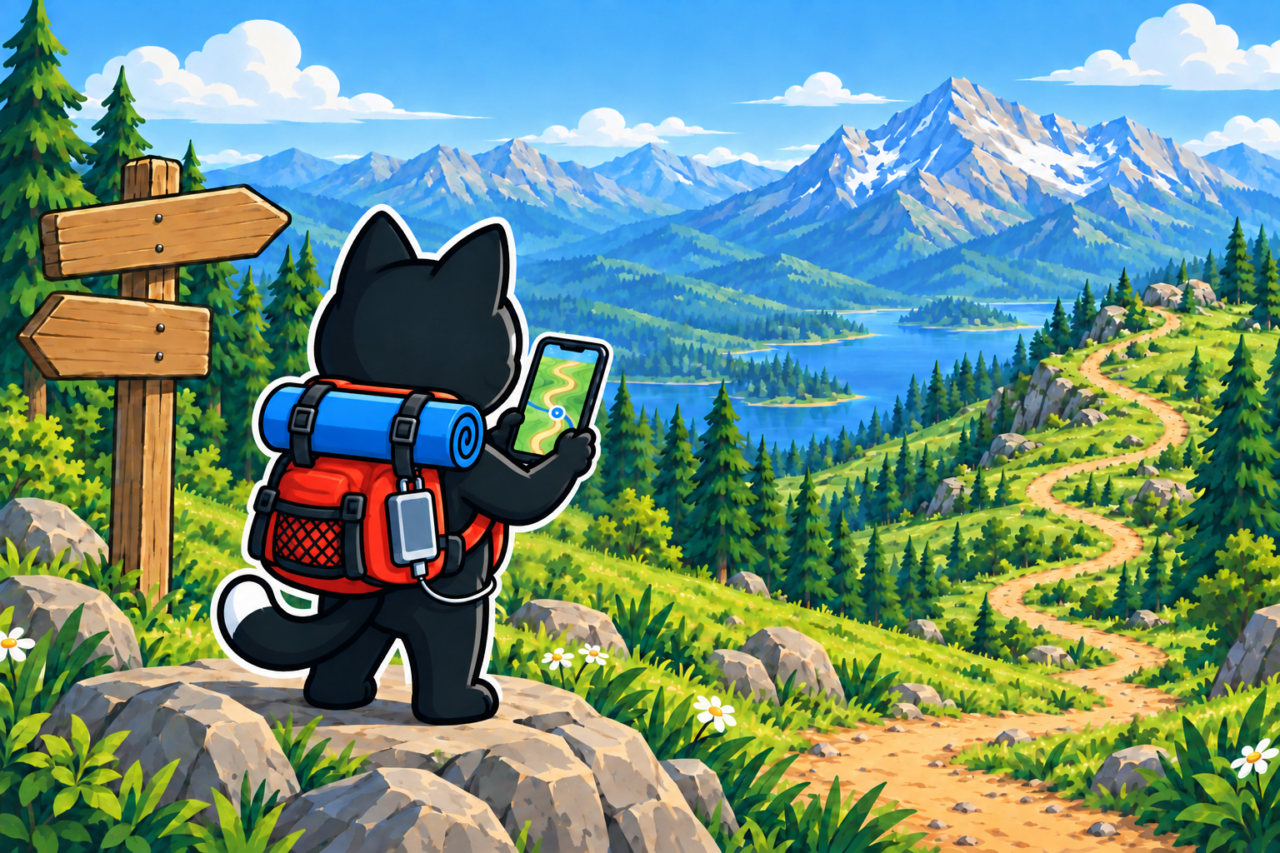
Check the file before the trip
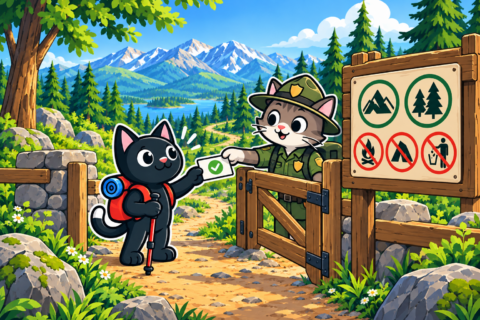
Download the track from a reliable source and confirm its recording date, direction, season, and the author’s mode of travel. Cyclists, skiers, and hikers may use different sections, so someone else’s line does not always suit your group. Compare it with a current topographic map, official closures, and the area’s description. A crossing through a closed zone can then be found at home while there is time to revise the route.
Review the complete elevation profile before departure to understand the main sections. Even when the line looks short on screen, the profile may reveal substantial climbing and difficult points. Check the start and finish separately because they may be in different places. Pay attention to:
- total distance and elevation gain;
- steep sections, crossings, and exposed ridges;
- exit points, shelters, and water sources;
- places where the line crosses a restricted area;
- the start and finish, especially when they are in different locations.





Give the file a clear name and remove doubtful versions so the correct recording is easy to open on the hike. Test it in the exact app and device you will carry. If it fails at the trailhead, fixing the problem without a prepared file will be harder. This home check also shows how the line appears on the selected map.
Prepare an offline map
Download the area’s maps for offline use and test them in airplane mode. Choose a scale that shows trails, contours, water, and landmarks for comparison with the terrain. One screenshot covers little space and does not allow convenient zooming. At an unfamiliar junction, a complete map provides more context than a saved piece of screen.
Fully charge the phone before departure and carry a power bank with the right cable. Protect electronics from water and cold because access to the downloaded map depends on them. A paper map and compass provide an independent backup if the screen or power fails. Participants should understand the basic route even when the leader carries the device, making the next turns clearer to the group.


Check it thoughtfully
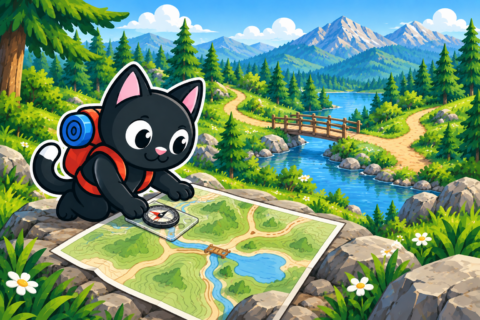
Keep the phone accessible and stop on stable ground to look at the screen. Check before a junction and immediately after it while the chosen direction is easy to verify. Compare the screen position with the slope, stream direction, and forest edge. GPS error can reach tens of meters under trees, near cliffs, and in gorges, so proximity to the line alone does not confirm the correct turn.
While standing still, the screen’s direction arrow is often unstable. Walk several meters in a safe place and observe how the position changes. If the point jumps, use large terrain features and the map until the signal improves. A stream’s direction may remain clear even when the icon moves between neighboring trails.
Record your own route
Recording the actual path helps reconstruct recent decisions and find a familiar junction. Because it consumes power, test the selected settings on a similar walk beforehand. Mark the start, key turns, campsite, and important observations to preserve the sequence. A geotagged photograph of a sign can also help if those privacy settings suit you.
Do not publish coordinates of sensitive natural features or direct people across closed land. Before sharing a file, remove personal waypoints containing addresses or details of habitual routes. Such points may sit beside useful landmarks in the recording, so review all the data. Other people will then receive the route without unnecessary personal details.
If the line and terrain disagree
If the line disagrees with the ground, stop and do not force a straight return to it. A cliff, river, or dense vegetation may lie between you and the track without explanation on the screen. Find the last place where the map, recording, and surroundings agreed. Return there only by a known safe way even if the digital line looks close.
If uncertainty remains, assess the weather, daylight, and group’s condition. Turning around early preserves options while the return section is clear. If you cannot determine the position and a safe exit, contact emergency services. Report the coordinates with their format, the start point, and route name so responders can interpret the message correctly.

After the hike, save your recording separately and review where the plan differed from the actual path. This identifies the turn or section where the track needed an additional check. If you find an error in a public file, tell the author or platform. A short note about the discrepancy may save the next group a long search.
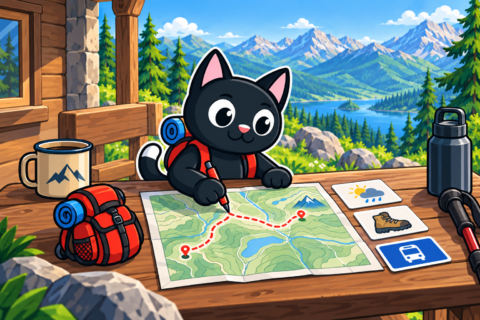

Respect the limits of technology
GPS calculates a position, an app displays it over a selected map, and a person makes the decision. An error can occur at every stage, so a blue dot beside a line does not describe passage conditions. It cannot report a bridge’s state, snow depth, or whether crossing is legal. Confirm digital data through observation and choose a route with a safe turnaround if the terrain differs from expectations.