Hiking footwear must suit the route and fit your feet well. This guide explains how to choose a pair, assess the fit, and prepare it for a hike.

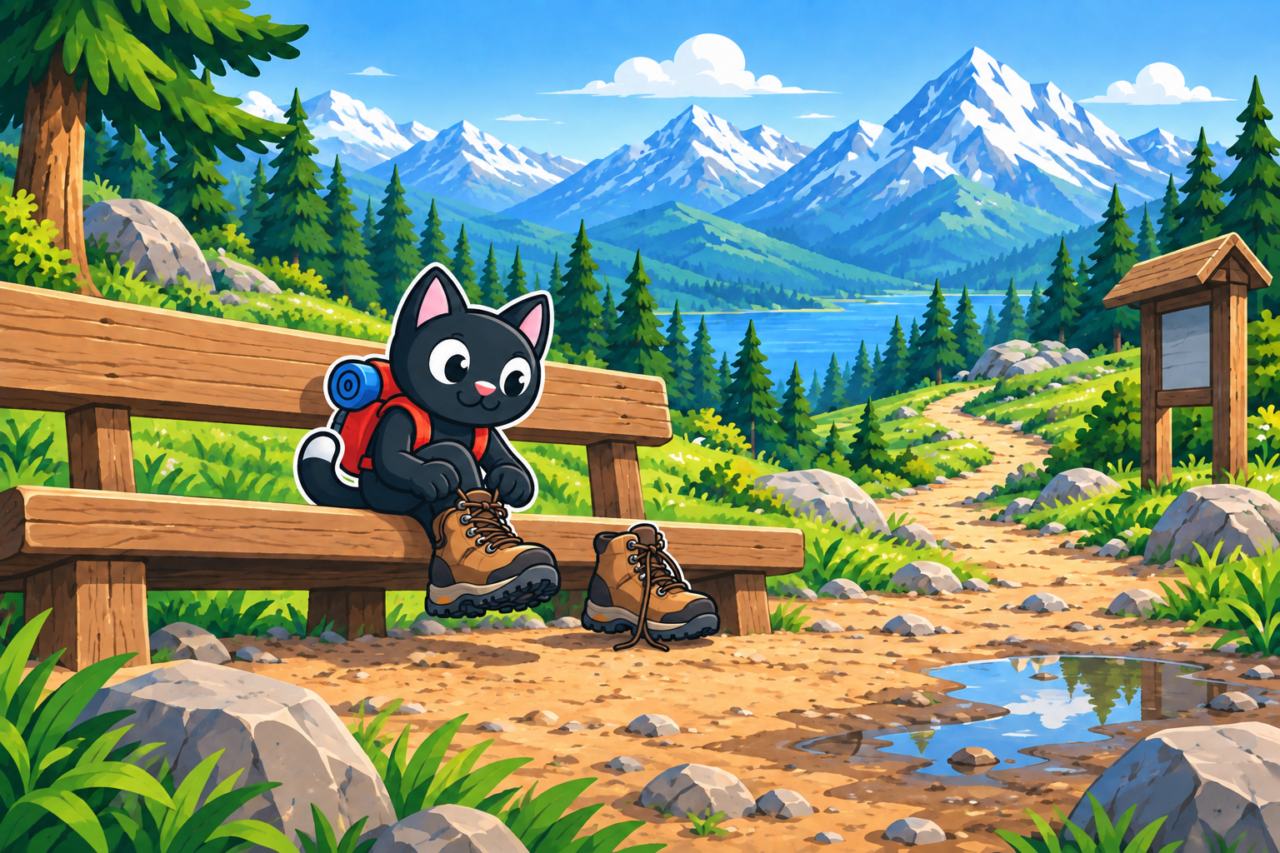
Define the conditions
Before choosing, study the route’s surface, elevation gain, moisture, and expected temperature. Low-cut hiking shoes are generally lighter and dry faster, which is noticeable after a wet section. Boots offer better protection from rocks, mud, and cold but add weight and take longer to dry. A stiff sole helps on scree but may tire your feet on an easy trail.


A waterproof membrane helps across wet grass and shallow puddles while water remains outside. If water enters over the top, the interior will dry slowly. This is particularly noticeable on a multi-day trip when you must put on the same pair again in the morning. In a hot, dry climate, breathability is often more important than full moisture protection.

Try them on carefully
Wear the socks you plan to hike in when trying on footwear. Put on both shoes late in the day, when your feet are slightly larger. The heel should remain secure while the toes have room to move freely. They must not hit the front on a descent: after a long day, the pressure can cause pain and damaged toenails.

If the shop has an inclined surface, walk both up and down it. Try different lacing methods and notice pressure points before your feet are tired. Toe pressure on a descent may not appear at all on a level floor. The material can adapt slightly over time, but the shape of the last will remain the same. Do not dismiss a painful spot during the fitting as something that will simply “break in.”
Prepare the footwear
Wear a new pair at home first, then take it on several walks. Gradually increase the distance and backpack weight to test the fit under load. Use it on climbs, descents, and uneven ground, where the foot shifts in different ways. Inspect your feet after every outing: redness warns of a future blister before pain begins. If a mark returns in the same place, address the fit before the next long walk.

Practice adjusting the laces for different terrain before a long route. On a climb, the upper can be loosened slightly to allow more ankle movement. Before a descent, secure the heel more firmly so the toes slide forward less. Knots and lace ends should remain in place without catching on vegetation or the other boot.

Foot care on the trail
Keep your feet clean and, where possible, dry throughout the day. During breaks, remove your footwear, shake out sand, and change damp socks. Cover a hot spot with a suitable dressing as soon as you feel it. Waiting turns mild irritation into a blister, making every step on the next section more painful.


Trim toenails in advance and leave a smooth edge so they do not interfere inside the footwear. Bring familiar care products and a short length of spare lace in case of damage. After a wet day, remove the insoles to dry. Place the footwear in a ventilated area away from open flame to preserve its materials and shape.
Inspect before departure
- The sole is attached around the entire perimeter and has no deep cracks, helping reduce injury risk.
- The laces, hooks, and loops withstand tension.
- The insoles lie flat without bunching that can cause blisters and chafing.
- The water-repellent treatment has been renewed with a product suitable for the material.
- You can wear the pair for several hours without numbness or pain.




Important: never start a route in new footwear that you have not tested. After the hike, clean it with a soft brush, dry it at room temperature, and treat it according to the instructions. This care helps retain the shape for the next outing and avoids unpleasant surprises in the first few kilometers.
Choose a size for a long day
Heat and exertion make the foot slightly larger, so a brief morning fitting can be misleading. Remove the insole and stand on it, checking the outline of your toes and a sensible allowance in front. Put it back, lace the footwear, and assess how securely the heel is held. This sequence shows both the available space and the fit of the complete shoe.
If one foot is larger, choose the size for that foot. The volume around the smaller foot can be adjusted with lacing or a suitable insole after consulting a specialist. Test any change on a walk before relying on it during a hike. An extra layer changes the pressure and internal height, so a previously comfortable fit may no longer feel the same.
Test an older pair in motion before a demanding trip as well. Glue and midsole materials can deteriorate in storage even when the exterior looks intact. Several hours on an uneven trail reveal their condition more reliably than a quick inspection by the door. You will then discover a problem while there is still time to reconsider your footwear before the start.