Clothing for heat and rain should protect the body while moving moisture effectively. This guide explains how to assemble a light kit for changeable weather.
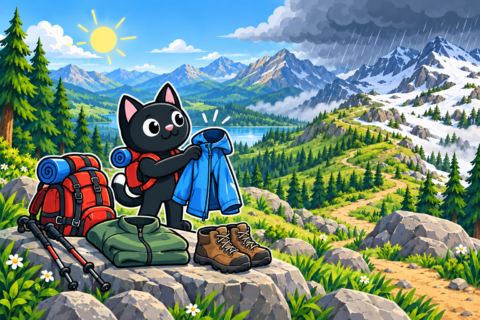

Clothing for hot weather
In hot weather, choose lightweight, loose clothing that allows airflow and shields the skin from the sun. A long sleeve in thin fabric is often more convenient than repeatedly applying sunscreen on a dusty trail. Light colors absorb less heat, and ventilation panels help air move beneath the fabric. Test your freedom of movement beforehand: a close fit will feel more restrictive on a climb.
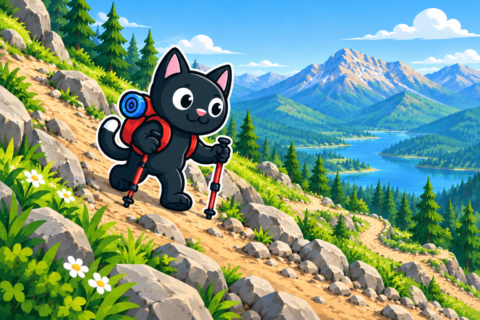
Headwear should shade the face and neck, remain secure in the wind, and preserve your field of view. Choose sunglasses with certified UV protection, especially for an exposed route. Apply sunscreen to any skin that remains uncovered and renew it according to the instructions. Clothing and additional protection will then cover the areas exposed to the sun throughout the day.
Plan your pace around the heat: an early start and rests in the shade reduce exertion during the hottest hours. As the sun rises, a short pause in a sheltered place may be timely. Clothing helps the body cope with the conditions, but water and food remain part of the same plan. Monitor how you feel so you notice changes early while moving.

Rain protection
A jacket and trousers should be easy to put on over your trail clothing and footwear while on the route. Check the hood, cuffs, zips, and back length while wearing your backpack. If the lower back becomes exposed when you bend, rain will enter beneath the outer layer even when the fabric works correctly. Seams require sealing, and the outer surface should be maintained according to the manufacturer’s recommendations.
Moisture also forms inside the clothing during an intense climb. Open the ventilation zips, loosen the collar, and reduce your pace while retaining protection from the wind. Less moisture will then remain under the jacket when you stop and your body begins to cool. In a short, warm shower, a quick-drying trail layer may sometimes be enough. The choice depends on temperature and the risk of chilling, so assess the conditions before the next exposed section.

Poncho or rain suit
A poncho is quick to put on, may cover the backpack, and ventilates well from below. In the wind, its loose fabric flaps, catches on obstacles, and is harder to control. A separate jacket and trousers fit the body more precisely and are more convenient on difficult terrain, although they weigh more. Test your chosen system with a full backpack so its fit becomes clear before bad weather. Walking in it will show how easily you can move and reach the items you need.
Keep a dry reserve
Pack sleeping clothes and insulation in waterproof inner bags. An outer cover takes most of the rain, but water can enter a backpack along the back or from below. Protect documents, electronics, and the first aid kit separately. After prolonged rain, this arrangement will let you retrieve dry items even if the outer fabric is already soaked.
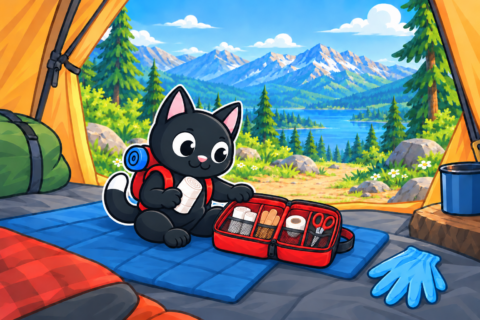

Keep wet trail clothing away from the sleeping bag so it cannot transfer moisture. Air garments during breaks when possible, then put them back on before moving. Preserve the dry set for camp, where changing after a hike is especially welcome. Add insulation immediately after stopping while your body still retains heat from walking.

Warning signs
Headache, nausea, unusual weakness, confusion, and loss of coordination in hot weather require an immediate response. If a member of the group develops these signs, move them to a cool place. Remove unnecessary layers and begin careful cooling. Seek emergency help for severe symptoms rather than waiting for the next break.
In cold rain, severe shivering, clumsy movements, slurred speech, and apathy are warning signs. If you notice them in someone, find shelter and replace wet layers with dry ones. Insulate the person and assess whether evacuation is needed. On an exposed section, begin these actions as soon as the signs appear.
Test at home
Put on the full kit, adjust the backpack, and raise your arms. If the manufacturer permits this kind of test, ask someone to spray the jacket with a shower. Inspect the seams and pockets afterward for water ingress. On a walk, learn how quickly you overheat and which ventilation settings help. Repeat your usual movements with the backpack to assess back coverage and zip access.
After the trip, dry the clothing and clean off trail dirt. Restore the water-repellent treatment according to the instructions so the fabric is ready for the next shower. A tested kit lets you meet changing weather calmly without rushing to change.
Watch the forecast along the way
Save the forecast before setting out and note visible weather changes during the trip. Building clouds, strengthening wind, and falling temperature indicate when protection will be needed. Wait out a thunderstorm in an appropriate safe place, following local guidance. A waterproof jacket does not protect you from lightning or falling branches, even if it keeps you dry.

After heavy rain, assess the group before continuing. Check whether the insulating layer is dry, whether hands are warming up, and whether enough time remains to reach camp. If clothing is soaked, a short stop to change can sometimes preserve more energy than walking the next section in wet garments.