A handheld GPS device helps you record your route and follow it without relying on mobile coverage. This guide explains how to choose a device, prepare maps, and use it on the trail.

When a dedicated device is worthwhile
The advantages of a rugged case and replaceable batteries become more apparent on multi-day trips, in winter, or in frequent rain. A separate device is also noticeably easier to use when you need to check your direction while wearing gloves. A modern phone with offline maps is often enough for a short, marked trail. In that case, carry backup power and a second means of navigation so a dead phone does not leave you without bearings.

Some models combine navigation with satellite messaging and SOS. Before buying, check whether the particular device includes these features. A standard GPS receiver can determine your position but cannot contact rescuers. If the group needs help, simply being able to see your coordinates will not let you send an alert.


Key criteria
- Maps. Check that the device supports the region, terrain detail, and routes you need, and that its upload process is straightforward. When you open a section of your route, all necessary details should be available on the device itself.
- Controls. Physical buttons are often easier to use in rain and while wearing gloves. A touchscreen can make working with a map easier, so try both options in conditions similar to those you expect on the trail.
- Power. Consider realistic battery life and battery type. Whether batteries can be replaced in the field determines if you can restore power far from a charging point.
- Protection. Compare the stated water resistance and operating temperature with your route conditions. This helps ensure that rain or cold will not expose the device to conditions it was not designed to withstand.
- Screen. The display should remain readable in sunlight so you can distinguish map symbols when checking your direction. It is also worth seeing whether you can change the scale without digging through menus.
- Attachment. A safety lanyard and a place to mount the device on a shoulder strap help prevent drops and loss. The attachment keeps it close whenever you take it out to check the route.

Prepare your data
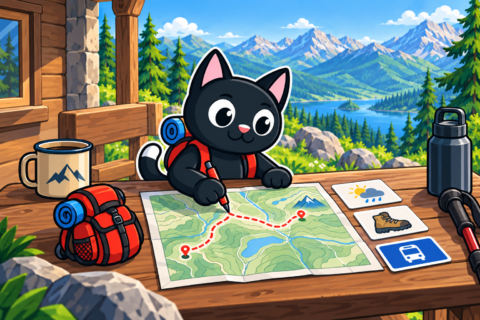
Install maps in advance and inspect how they look at different scales. Then load your track, alternative exits, and important waypoints, giving them short, clear names. At a junction, a long or vague label makes it harder to select the correct landmark. Match the coordinate system to your paper map and to the settings used by other group members so everyone uses the same format when discussing your position.
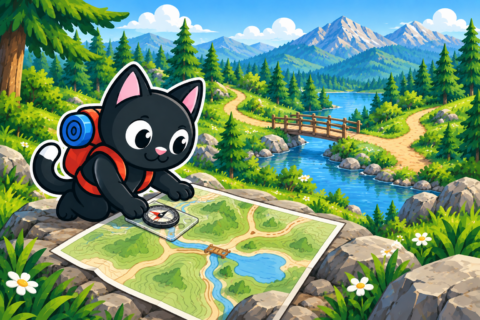
After uploading the files, disconnect the device from the computer and open every item on the device itself. A successful copy does not guarantee that the unit can display a file: an unsupported format or incorrect folder may prevent it from appearing. Finding that problem at home gives you time to fix it before setting out. A familiar walk with the GPS device will help you learn the controls and practice retracing a recorded track.
Using it on the trail
Keep the device within easy reach while protecting it from accidental button presses. At a junction, you can then check your direction before continuing along the chosen trail. Change the map scale to suit the task: zooming in too far hides the wider picture, while viewing from too far out can make a nearby path easy to miss and leave the required turn outside your attention.
Position accuracy decreases near cliffs, in gorges, and under dense tree cover. In these conditions, wait in a more open place and compare the reading with the terrain. An icon shown near a neighboring slope can make it difficult to understand exactly where you are. A recorded track also contains errors, so its line may run beside the actual trail rather than matching every point precisely.
Power and backup
Carry spare batteries or a suitable power bank in accordance with the manufacturer’s guidance. Keep batteries dry, insulate their contacts, and protect them from the cold. A prepared reserve lets you continue using the device when a replacement is needed on the route. Before starting, turn off unnecessary wireless functions and choose a sensible recording interval, balancing the settings against their power use.


Give a copy of the map and route to a second group member. If the primary device stops working, the group can use that person’s data. If the electronics fail, a paper map and compass can help—provided you know how to use them. Simply carrying these items will not help you find your direction without that skill.
Important: a GPS device cannot assess the state of a crossing, avalanche conditions, or whether access is legal. If its line passes through a dangerous section, you must still evaluate the conditions in front of you. The screen does not give you permission to cross, even when the loaded route leads straight through. The device supports your decision; responsibility for moving on remains with you.

Care after the trip
After the trip, stop the recording, save the track, and copy it to a computer. Remove the batteries before storage if the instructions recommend doing so. Clean the case with a soft cloth and let the ports dry completely. Replace damaged seals before the next rainy outing, or the device’s moisture protection may be compromised.
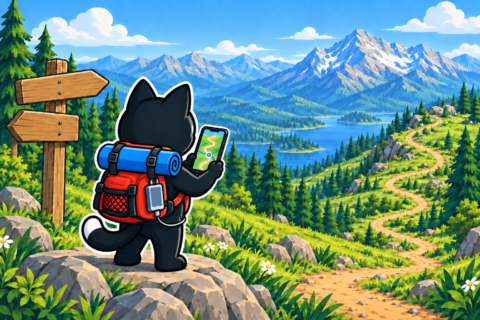

Review the route on a large screen and mark the places where you were uncertain. A section where the readings repeatedly differed from your understanding of the terrain may indicate a systematic settings error. These observations will be useful when preparing your next route. Update maps well in advance so there is time to recheck the files and inspect the result on the device.
Keep a short paper reference with the main controls and coordinate format alongside your navigation materials. In a stressful situation, a simple sequence of actions will help you find the right function faster than a thick manual. Long explanations are difficult to search while you are trying to remember the order of button presses. Save the full manual on your phone so you can consult the details offline.
Before a new trip, turn the device on outdoors and wait until it establishes a reliable position. This confirms that it works before you start moving, when you do not yet need to choose a direction at the same time. Check the date, time, and available storage for a long track. If space is insufficient, you will discover the problem early enough to fix it before recording stops during the trip.