Safe water on a hike requires suitable containers, reliable treatment, and a sensible reserve. This guide covers the main storage and treatment methods.
Assess the source
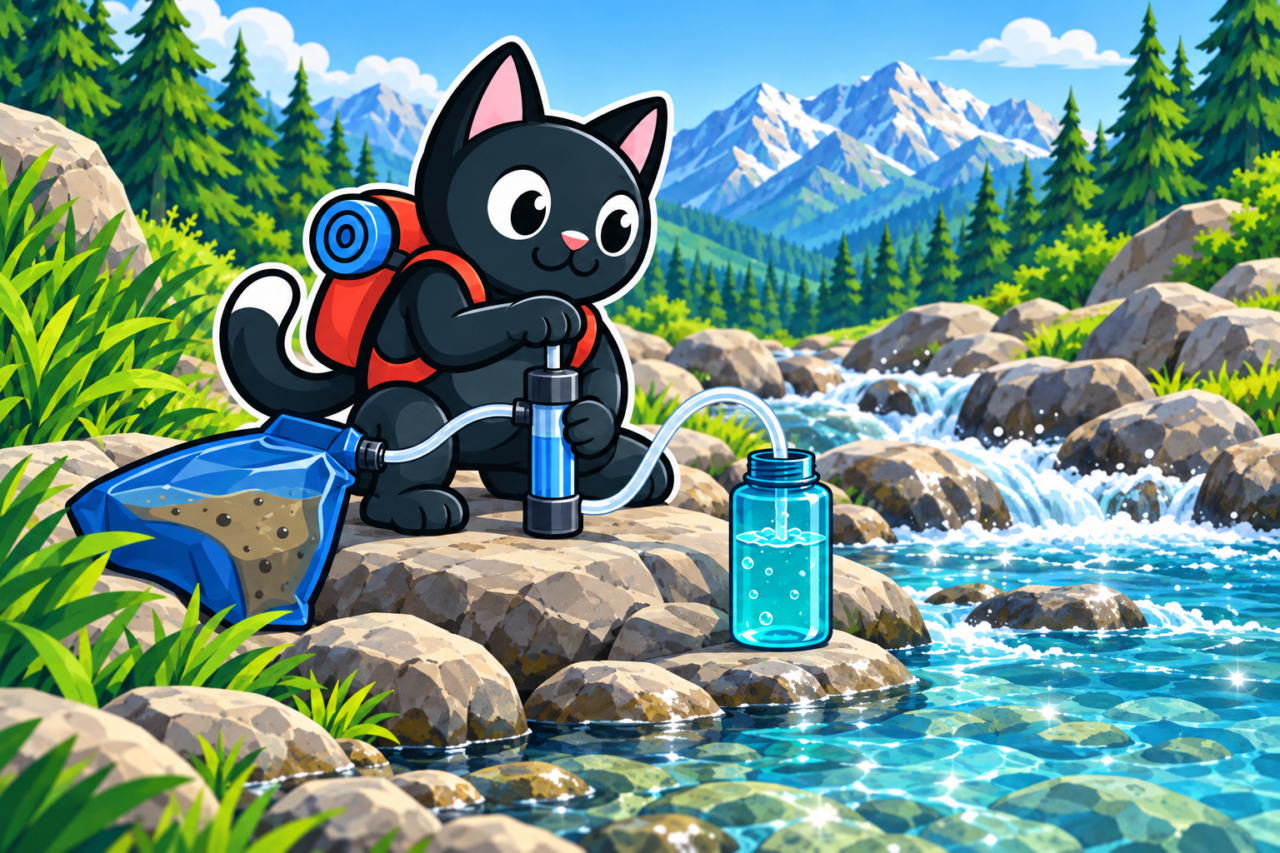
Look upstream before collecting water. Homes, pastures, roads, campsites, and industrial facilities increase the risk of contamination. Clarity and pleasant taste do not prove safety, so appearance should not end the assessment. Avoid water with an oily film, unusual color or odor, or signs of runoff. If a stream passes such places, use another source identified in the route plan.

Important: if you suspect chemical contamination, find another source. Trail boiling and standard disinfectants are designed primarily for biological hazards. Chemicals may remain after such treatment even when the water looks clean.
Separate untreated and clean water
Use one container to collect raw water and separate bottles for drinking. Different colors or large labels reduce the chance of a mistake at dusk. When the group is hurrying at an evening campsite, the marking identifies the right bottle without guesswork. Keep the mouth of a clean container away from the stream, damp ground, and dirty filter components so treated water does not contact anything still untreated.
Create a small clean area for dispensing water at camp. Close lids and wash hands before pouring it into drinking bottles. Do not let the filter’s inlet hose touch its outlet, or raw water can reach the clean side. If a clean component does contact untreated water, treat it as directed by the manufacturer.
Choose a treatment method
- Boiling. Let turbid water settle first and pass it through a clean cloth. Then bring it to a rolling boil. The required duration depends on altitude and the regional health authority’s guidance. Cool it in a covered, clean container.
- Filtration. Check exactly which pathogens a particular model removes. The stated pore size alone is not enough to draw a conclusion. Many hiking filters claim protection from protozoa and bacteria, while viruses may pass through them.
- Chemical disinfection. Follow the manufacturer’s dose, temperature, and contact time. Cold or turbid water often requires a longer wait.

Areas with a high risk of microbial contamination may require a combination of methods. Choose according to official guidance for the particular location and expected hazards. Follow equipment instructions as well: different products solve different problems. Additional treatment can fill a gap when one method does not cover a local risk.
Test the system at home
Connect the filter to the bottles, bags, and adapters you will carry. Run water through it, assess the flow, then disconnect everything and inspect the seals. An incompatible part or weak connection will appear at home while it can still be corrected. A new filter may require flushing, while an older one may need cleaning or a replacement cartridge. Complete the specified maintenance before relying on the device at a source.
Find out whether the model is vulnerable to freezing. Water inside hollow fibers expands when frozen and can damage a filter without visible signs. Plan overnight storage and daytime carrying if temperatures may fall below zero. Photograph the tablet instructions and keep a paper copy beside the package. You can then confirm the dose and contact time even if the phone is unavailable.


Storage on the trail
Divide water so losing one bottle does not leave a person without a reserve. Soft containers pack down conveniently after use but puncture more easily; keep them away from stakes and other sharp objects. If one is damaged during a crossing, the other containers preserve part of the supply. Check caps before packing so a leak does not wet the backpack. Carry bottles upright if their design may drip.

During chemical treatment, mark the container and record when the water will be ready. Participants will not confuse it with water that is already safe to drink. Assign someone to manage the shared supply and its distribution. Before leaving a break, count full bottles and compare the volume with the next section. If the next source is distant, discover a shortage while still at the stop.

After returning
Wash the containers, dry them completely, and store them with their lids open. Moisture in a closed bottle can leave a musty odor by the next hike. Service the filter according to its manual: flush, disinfect, or preserve it as the model requires.
If the water is very turbid
Collect very turbid water in a separate container and let suspended particles settle. Carefully pour the upper layer through a clean cloth so fewer particles enter the next stage. Then apply the primary treatment method selected for the source. Pretreatment extends filter life but does not disinfect the water by itself.
A familiar stream can deteriorate sharply after heavy rain even when the group has collected there before. Turbid or cold water changes the contact time for some disinfectants; consult the instructions. When in doubt, go to an alternative point marked before departure. If no suitable method is available, reconsider the route and seek help before the supply is exhausted. Make that decision while some water remains and the group still has time to act.