Your first winter hike calls for an especially simple route and careful preparation for the cold. Here is how to choose the conditions, clothing, and a safe format.
Find out what the trail is like in winter
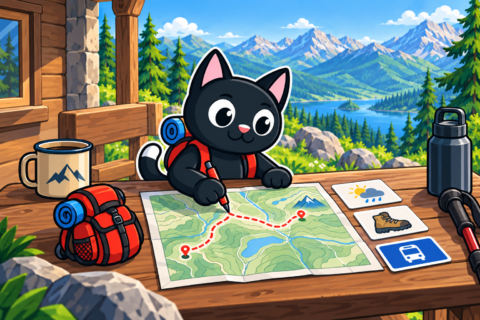
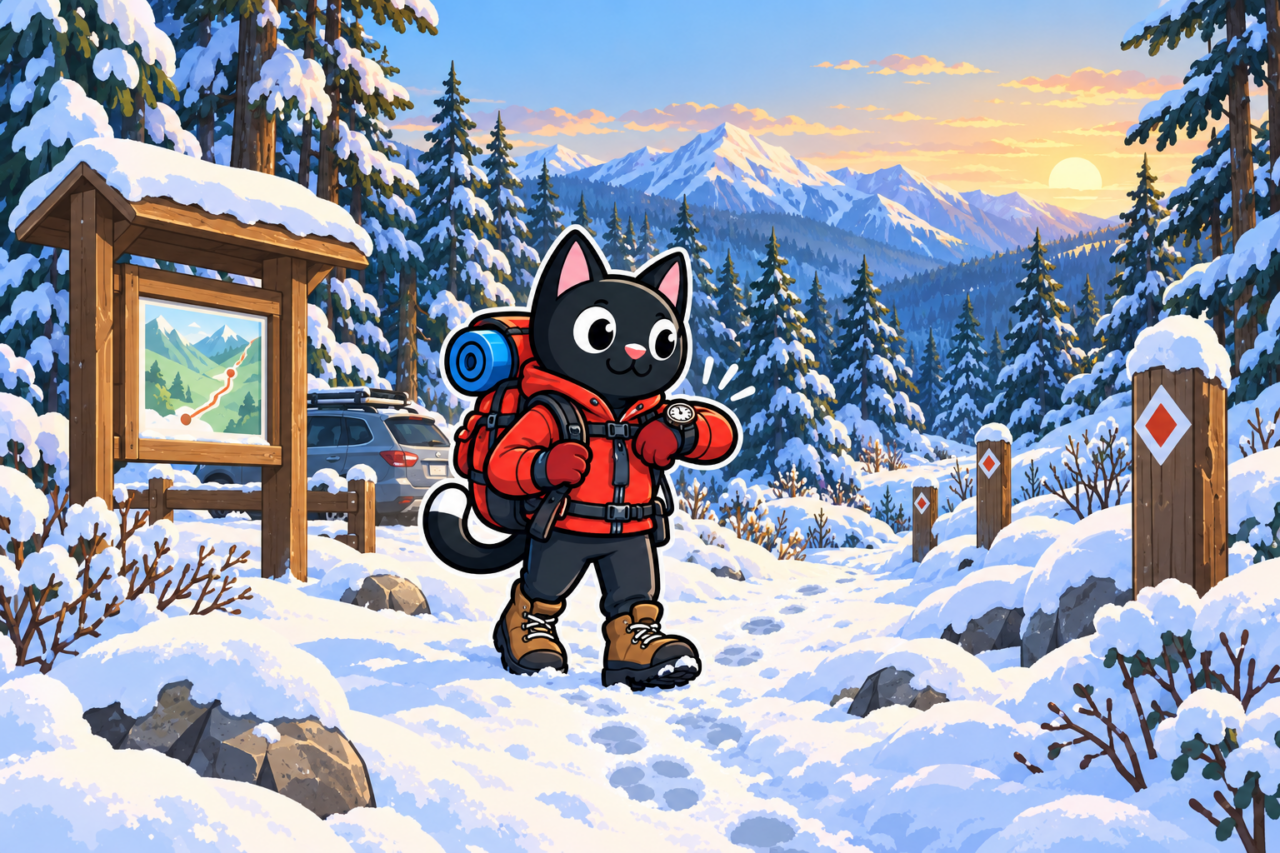
A familiar summer trail can look completely different in winter: snow hides its edges and signs. Some entrances and roads close for the season, so check recent reports or information from the land authority. Confirm whether the approach is cleared, the parking is open, and return transport is running. If the access road is closed, you will still have time to choose another available route.
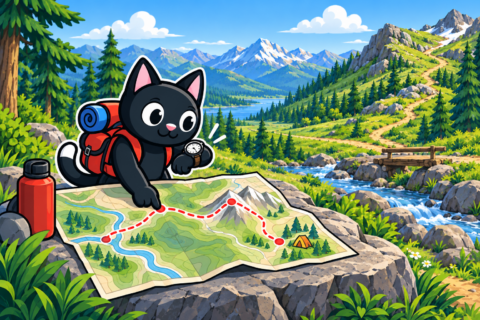
Someone else’s footprints may lead to a ski track, a dog-walking spot, or a dead end. For a first trip, choose a clear marked trail where you can confirm the direction at junctions. When snow hides a familiar turn, do not rely on tracks ahead; find a trail marker that confirms the route.
Caution: do not plan a route over ice. The appearance of a frozen body of water and other people’s tracks cannot reliably show whether the surface will hold you. If the intended line crosses ice, find a route around it at home so you do not have to decide whether to trust an unfamiliar surface on the spot.
Plan a short distance: deep snow slows progress and winter daylight ends early. Set a conservative turnaround time and keep it even if the first half-hour feels easy. You may have less energy on the way back while the snow remains just as demanding. If the trail is harder than expected, shorten the walk before the time reserve disappears.
Test your gear in advance
Walk near home with the packed backpack and handle your equipment while wearing gloves. Try opening zippers, reaching the water, and switching on the headlamp. If access is awkward, cold conditions will force you to remove your gloves and spend longer searching. Rearrange the items after the test and check them again.
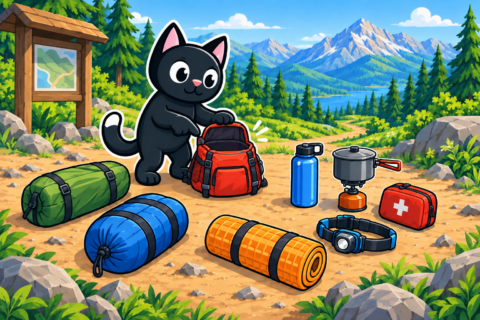
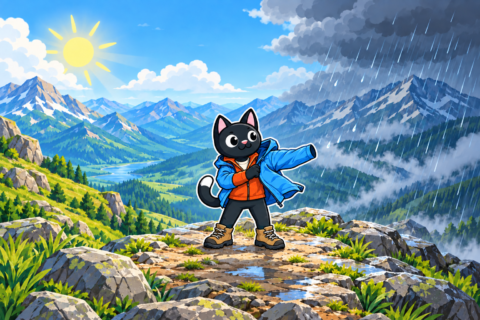
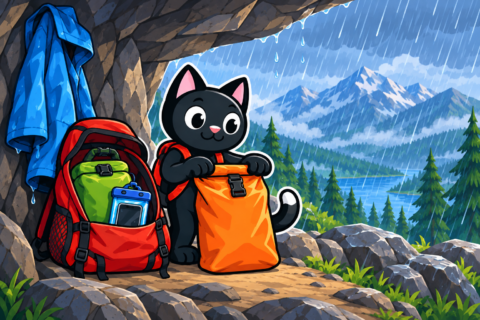
Adjust clothing layers as you move because effort and body temperature change. The warmth produced by walking fades quickly during a break, so keep an insulating layer within reach. A separate waterproof bag keeps spare clothing dry until it is needed.
- adjust your layers by feel at the start;
- if you become hot, remove a layer before sweating;
- before a break, add insulation;
- keep a dry spare layer in its own waterproof bag, with gloves and a warm jacket close at hand.
If ice is expected, choose suitable traction devices and practice fitting them in advance. Everyday ice cleats are not appropriate for every slope, so carrying them does not make a difficult section safe. Assess the surface before stepping onto it; if uncertain, take an easier route or turn back. That decision is easiest at the beginning of the icy section.
Taking a break
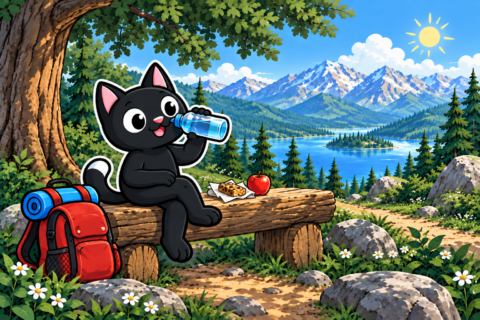
Choose a sheltered place and keep the stop short. Pack food so it can be opened without a long search. For a short walk, a thermos is convenient; test at home whether its lid opens in gloves. While the group struggles with food in the wind, a break quickly stops being warming. Do not rely on melting snow over a fire for water.
Watch one another’s condition and speak immediately if anyone becomes cold or wet. At signs of hypothermia, end the walk and head for the nearest accessible shelter. If the person worsens and cannot get out unaided, call for help.
After the walk
On returning, hang up damp clothes and dry footwear according to the manufacturer’s instructions. Recall which gloves soaked through and how easy the jacket was to reach. Before the next trip, choose a more reliable pair or carry spares and move the jacket nearer the top. These small changes come directly from what happened on the trail.
Warning signs not to miss
Numb fingers, shivering, sudden clumsiness, and unusual slowness require attention. If a companion begins answering slowly or struggles with a zipper, ask how they feel and help add a dry layer. Start returning while the way to accessible shelter is still clear. Watch exposed skin for pale patches and loss of sensation; cover them gently from the wind and never rub them with snow.
Afterward, record the temperature, snow conditions, and gear that worked. Such a journal reveals personal limits: one person needs warmer mittens, another a smaller thermos or earlier start. Compare notes from later walks and mark the conditions that slowed you. Future plans will then rest on records from several types of weather.