Trekking poles help maintain balance and distribute load. This guide explains how to select a length, adjust straps, and use poles on different terrain.
Choose and inspect the poles
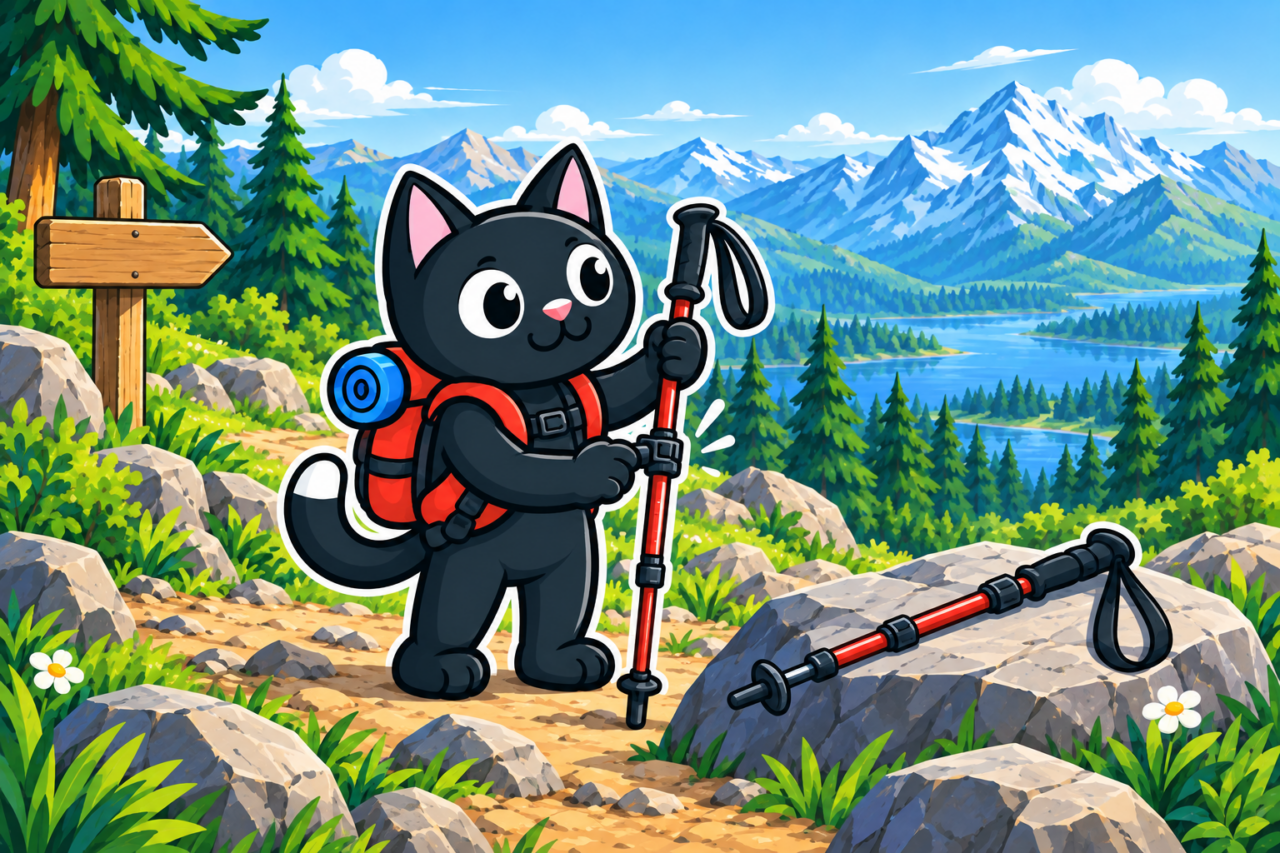
A suitable grip feels comfortable, the adjustment locks securely, and the tip suits the surface. Telescopic sections must overlap within the manufacturer’s marks. Before departure, inspect cracks, locks, straps, and tips. A fault is then found before the section where support is needed. Check locks particularly carefully before a long descent with repeated loading.
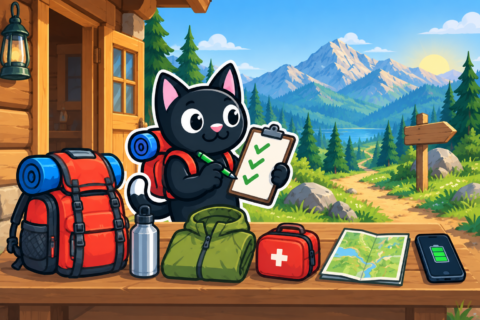
Rubber caps protect hard surfaces and reduce noise. Standard carbide tips are generally used on soil, while broad baskets help in snow and soft ground. Follow the manufacturer’s instructions for the model and conditions. If surfaces change along the route, confirm which parts fit your poles before leaving.
Set the length
On level ground, start with a length that bends the elbow roughly to a right angle. Shoulders remain relaxed and the tip stands beside the foot. Refine the setting for your proportions and technique because one figure does not fit everyone. Set both poles equally unless the terrain temporarily requires different lengths. Walk several steps on a level path and compare shoulder position before entering a slope.

Poles are often shortened for a long climb and lengthened for a descent. On a traverse, the uphill pole may be shorter than the downhill one. Adjust sections while standing somewhere stable and control the equipment so it cannot slide away. A secure platform lets you check locks before the next step.
Learn the straps
Normally the hand passes up through the loop and then grips the handle together with the strap. This transfers force through the wrist so the hand need not squeeze as hard. Ensure the loop does not constrict the skin in motion and that the hand can release quickly if support becomes awkward.
A pole can become trapped among rocks, branches, or in fast water, so remove hands from the straps on these sections. During a fall, an attached hand takes extra load while the pole remains stuck. Release it before entering difficult ground. Follow any model-specific manufacturer guidance.
Move naturally
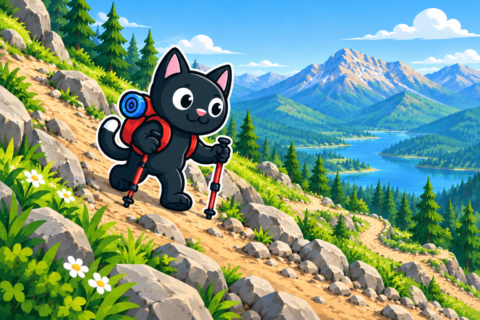
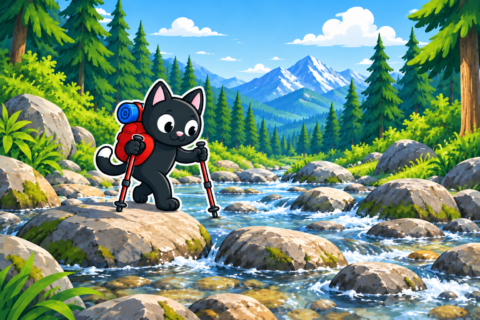
On a level trail, an opposite rhythm is comfortable: right pole with left leg and left pole with right leg. Plant the tip beside or slightly behind the step without reaching too far forward. Keep arms close and shoulders relaxed. The pole movement should extend your normal walk rather than disrupt it. If shoulders rise, check length and hand position.
On a steep climb, both poles may be placed higher before the next step and tested for support. On a descent they move forward to control weight transfer. Do not put all your weight on them because a stone beneath a tip can move. Even a sound pole can collapse, so foot placement remains primary.

Difficult sections
Assess a ford before entering; poles can then probe the bottom and provide extra support. Fast water may pull a tip and turn the body, so evaluate conditions first. On scree, a tip can wedge between stones. Place it deliberately and keep distance from others so a sudden stop does not obstruct them.
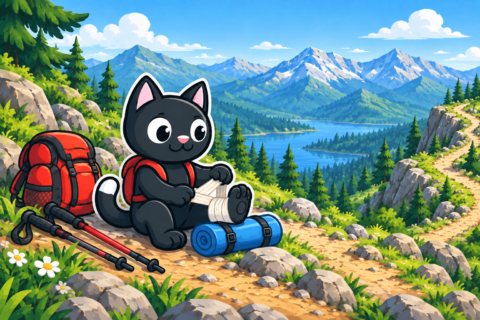
Fold the poles when hands are needed for rock, a ladder, handrail, or safety cable. Secure them to the backpack with tips down or place them in a cover. Loose equipment catches branches and interferes with balance. Check the attachment before occupying your hands on the next difficult section. Free palms are especially important on ladders and railings.

Protect the trail and other people
Do not plant tips in moss, roots, or fragile vegetation at the trail edge. Watch people behind you: a sudden swing places the point near their legs. This is easy to overlook on a narrow section while concentrating on your own support. Cover tips in transport and at a crowded camp.

Clean and dry the sections after the hike according to the instructions. Sand damages the mechanism and retained moisture causes corrosion. Before the next outing, test locks under moderate load in a safe place. Discover a slipping lock before a climb or descent.
Practice without rushing
Begin on a broad familiar path using a natural alternating rhythm. Then try a short climb and gentle descent, noting how tip placement changes. Film yourself from the side or ask a companion to check whether shoulders rise or poles reach too far. Comfortable technique looks calm and preserves your normal stride.
Sometimes it is safer to put the poles away and keep your hands free. On a narrow trail among people, in dense vegetation, or where palms are needed for support, folded equipment is safer. Practice fastening it quickly to the backpack while standing in a convenient place. This skill matters as much as tip placement when route conditions change.