A useful trail report helps other hikers assess current conditions and prepare for their trip. This article explains what information to record and how to present it.
Date and conditions
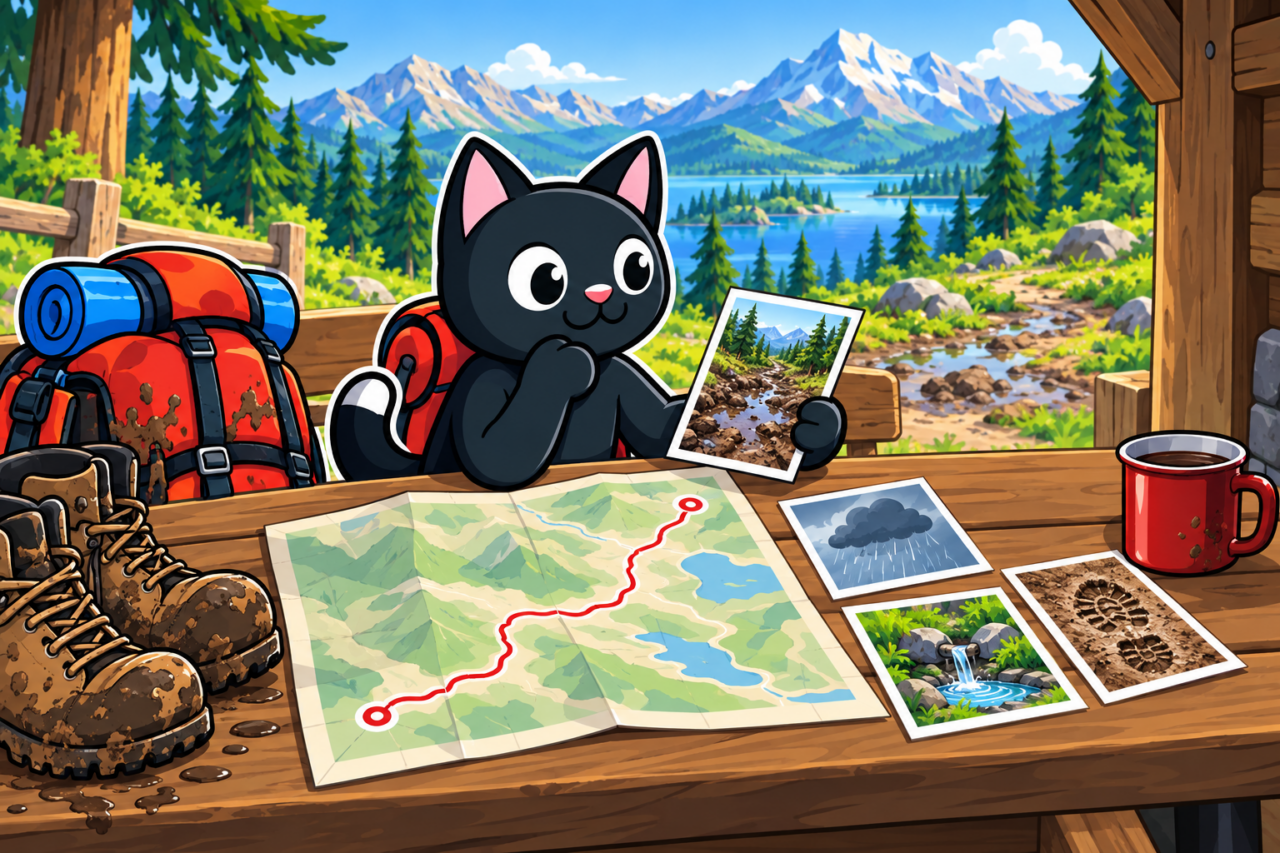
Trail conditions are tied to the date of your hike, so state when you completed it. Describe the weather and, if known, the conditions in the preceding days: they help explain what you saw. Mud after rain explains why walking was difficult, while a dry spring shows what water availability was like that day. Readers can compare the circumstances of your trip with their own. A single experience does not necessarily represent an entire season, even when the route remains the same.
Clearly distinguish your own observations from information obtained elsewhere. This difference matters especially when readers plan to collect water along the way. The wording below shows whether you personally checked the spring.
- “We collected water here” — you verified it on the day of the hike.
- “The description says there is a spring here” — you only read about it.

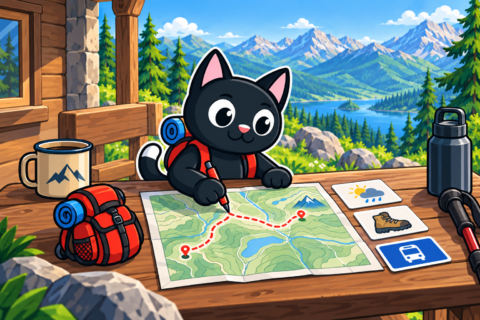
If you did not check something, say so directly and link to the original description. For example, water mentioned in someone else’s report may no longer be available on the day of your hike. Readers can consult the original source and decide how relevant those observations are to their trip.

Numbers and details
Include the start and finish, distance, elevation gain, and how each figure was measured: from a recorded track, a map, or another source. This helps readers understand which route the numbers describe and where they came from. If you saved the data, separate total time from moving time. A long stop increases the duration of the hike without making the trail longer. Describing breaks and places where you lost the route helps others understand the reasons for delays.

Identify demanding sections precisely: a faint turn, damaged bridge, scree slope, or steep descent. For each one, give its location and describe what you saw yourself. The word “difficult” alone tells readers nothing about the obstacle your group encountered. If you moved more slowly on a descent, describing the surface underfoot explains why. These details let others picture the challenge before setting out.

Be honest about what you do not know
Relate your difficulty rating to the group and its experience. Four well-prepared hikers may find a route easy because they can handle its obstacles, while the same route may be too demanding for a family with children. Knowing who completed it helps readers compare your assessment with their own situation and understand its limits.

Mark any accidental detour both on the map and in the text; without an explanation, readers may mistake it for the correct turn. If you corrected the track, publish the new file next to the original recording and keep them separate. This makes it possible to compare the correction with your actual movement. Never draw in sections you did not walk: doing so makes an unverified line look like personal experience.
Add the date when access rules and return transport were checked, because restrictions and timetables change. Readers planning a later trip can see how current the information is. Mark closed sections as inaccessible and link to the official notice instead of suggesting ways around a ban. This allows people to consult the authority’s announcement before their trip. Do not publish the locations of bird nests, even if you noticed them along the way.
Report template
- Route name:
- Date completed:
- Author and contact details for questions:
- Start and finish:
- Link to the map or track:
- Distance and how it was measured:
- Elevation gain and how it was measured:
- Total time / moving time:
- Group composition and experience:
- Weather and trail conditions:
- How to get there and back:
- Access rules, source, and date checked:
- Difficult sections with coordinates or landmarks:
- Water: what you personally checked and when:
- Permitted campsites and the source of this information:
- What remains unverified:
- Our mistakes on the route and corrections to the track:
- Date the report was last updated:




Before publishing
Before publishing, reread the report from the perspective of someone who has never been there. Check whether they can find the trailhead and distinguish a confirmed fact from an assumption. Caption photographs of difficult places and state the direction in which they were taken; a photo from the return journey can otherwise confuse someone at a junction. When updating the report, explain what changed and where the new information came from. Readers can then connect the correction to the original description and understand its basis.
Keep your rough notes and original track after publishing. Months later, a reader may ask about a particular difficult place, and your records will help recover the details. They are also useful when updating the description after the road changes, because you retain evidence of the route as it was. Put the date of the most recent check near the beginning. Readers will immediately see the age of the information and decide what else to verify before their trip.