A map and compass help you understand your position and direction without depending on electronics. This guide explains the basic techniques and how to apply them on a route.
Read the map
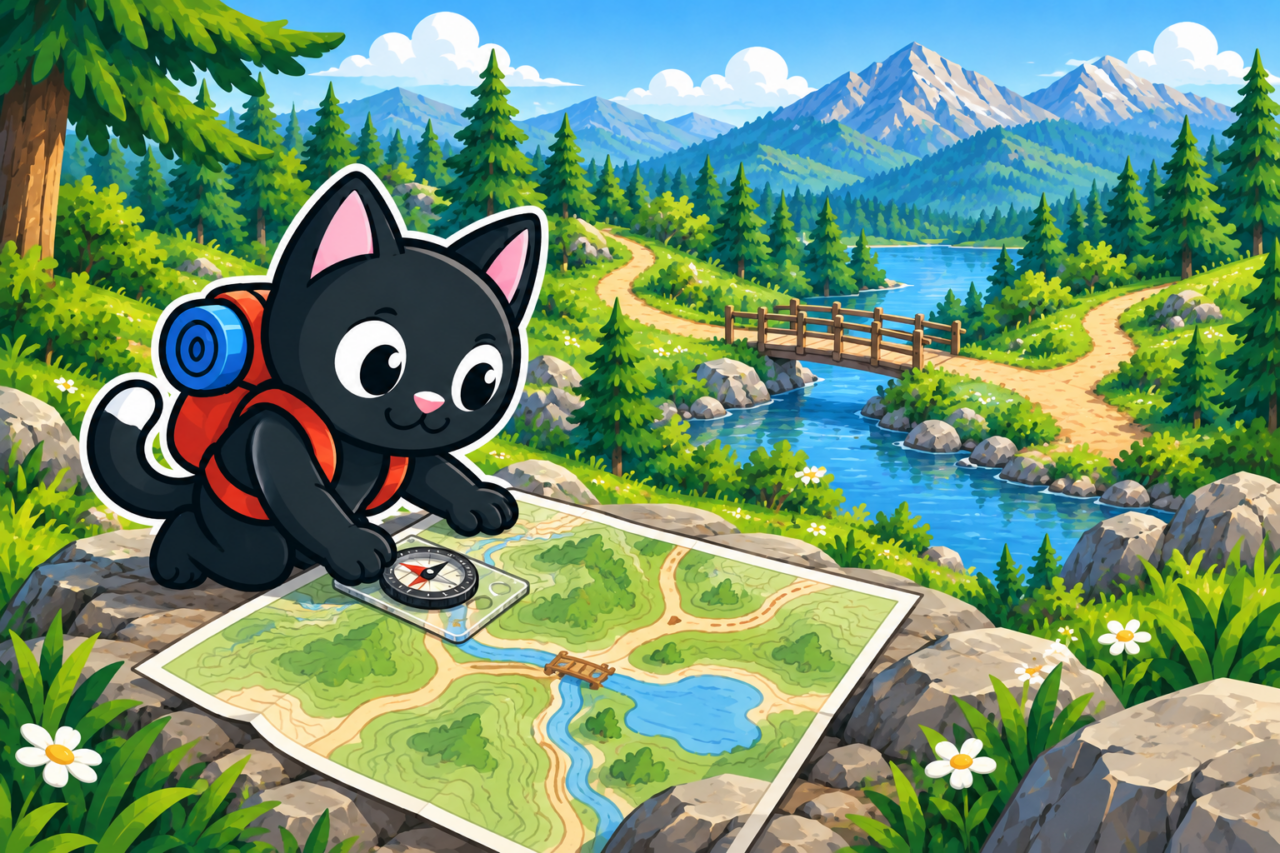
First find the scale, legend, publication date, and north indicator; without them, the image is difficult to interpret correctly. At 1:25,000, one centimeter represents 250 meters on the ground, so you can estimate distance on the sheet. A winding trail is longer than a straight line between points, while climbing, surface conditions, and travel time affect the group‘s progress. Include all of these when estimating the next junction so a delay is not mistaken for a navigation error.



Contour lines join points at the same elevation and reveal the shape of the terrain. Closely spaced lines show a steep slope; wider spacing shows a gentle one. Their curves identify valleys, ridges, and saddles. Compare the pattern with the rising ground, the direction of stream flow, and the road. If the map predicts a valley while a ridge continues in front of you, check your position before the next turn.


Understand the different norths
A compass needle points to magnetic north, while a map may show true north and grid north. The angle between them changes with place and time, so a familiar value from another region can cause an error. Find the local declination and conversion diagram on a current map or in official geomagnetic data. A verified value lets you align the instrument reading with the map on unfamiliar ground.
The method for applying the correction depends on the compass, so read the manual for your model. Practice with an instructor until the sequence is clear and the result can be checked on the ground. A mnemonic used without understanding the sign can send you in the opposite direction. The error becomes apparent only after several sections when the expected landmark never appears.
Orient the map
- Move away from vehicles, fences, phones, and large metal objects.
- Hold the compass level and wait for the needle to settle.
- Accounting for local declination, rotate the map until its north matches the required direction.
- Compare two or three features: a bridge, peak, bend in the road, or forest edge.
One matching feature can mislead you: similar road bends are more common than they seem at a glance. Check two or three more objects in the correct sequence and at suitable distances. If the bridge appears where the map shows it and the forest edge really begins beyond it, your position becomes more certain. You can then choose the next short section more confidently.
Move from feature to feature
Before a short section, name the expected signs: the trail crosses a stream, the slope steepens, then a junction appears. Determine your position again at the next clear point to maintain an unbroken connection with the map. If the stream appears but the climb does not, the discrepancy is found before the group travels far. Repeat this check throughout the route, especially where paths resemble one another.
Track elapsed time and distance to relate your movement to the map. A step counter, watch, and recorded track all provide useful estimates but contain errors. At a junction, remember the chosen direction or make a note, particularly if the sign is damaged. The record can later reconstruct the sequence of decisions when the surroundings no longer look familiar.

Bearings require practice
A bearing gives a direction from one point to another but says nothing about whether the line is passable. A cliff, marsh, dense vegetation, or river may lie directly ahead and must be considered separately. Practice transferring a direction from map to compass in a familiar open area, beginning with short legs. There you can compare the planned course immediately with the actual position of the chosen object.
Select a visible object in the required direction, walk to it, and repeat the measurement. This is easier than constantly watching the needle. In poor visibility, uncertainty grows because the next feature may disappear before you reach it. Learn complex crossings in these conditions under the supervision of an experienced instructor.
When to stop
If an expected stream, turn, or saddle does not appear on time, stop and compare the map, elapsed time, terrain, photographs, and track. These sources help identify the section where expectations stopped matching the ground. Return to the last certain point only by a known safe route. Continuing at random widens the search area and makes the original mistake harder to find.
Electronic navigation is convenient, but a phone can die, a screen can break, and a file can contain an error. Keep a paper map protected from water and carry a compass as independent checks. Imagine the screen failing before a junction: familiarity with terrain reading will let you continue navigating. Maintain the skill through regular practice, as the sequence of actions fades without use.



After training, reconstruct the route from memory and compare your account with the recording. Mark places where expectations differed from reality to identify which check needs more practice. Several short sessions in different weather build skill better than one long lesson. For difficult off-trail terrain and poor visibility, take an in-person navigation course and practice decisions under an instructor’s supervision.