The amount of food depends on route duration, exertion, and group composition. This guide explains how to calculate meals, portions, and the necessary reserve.
Find your portion
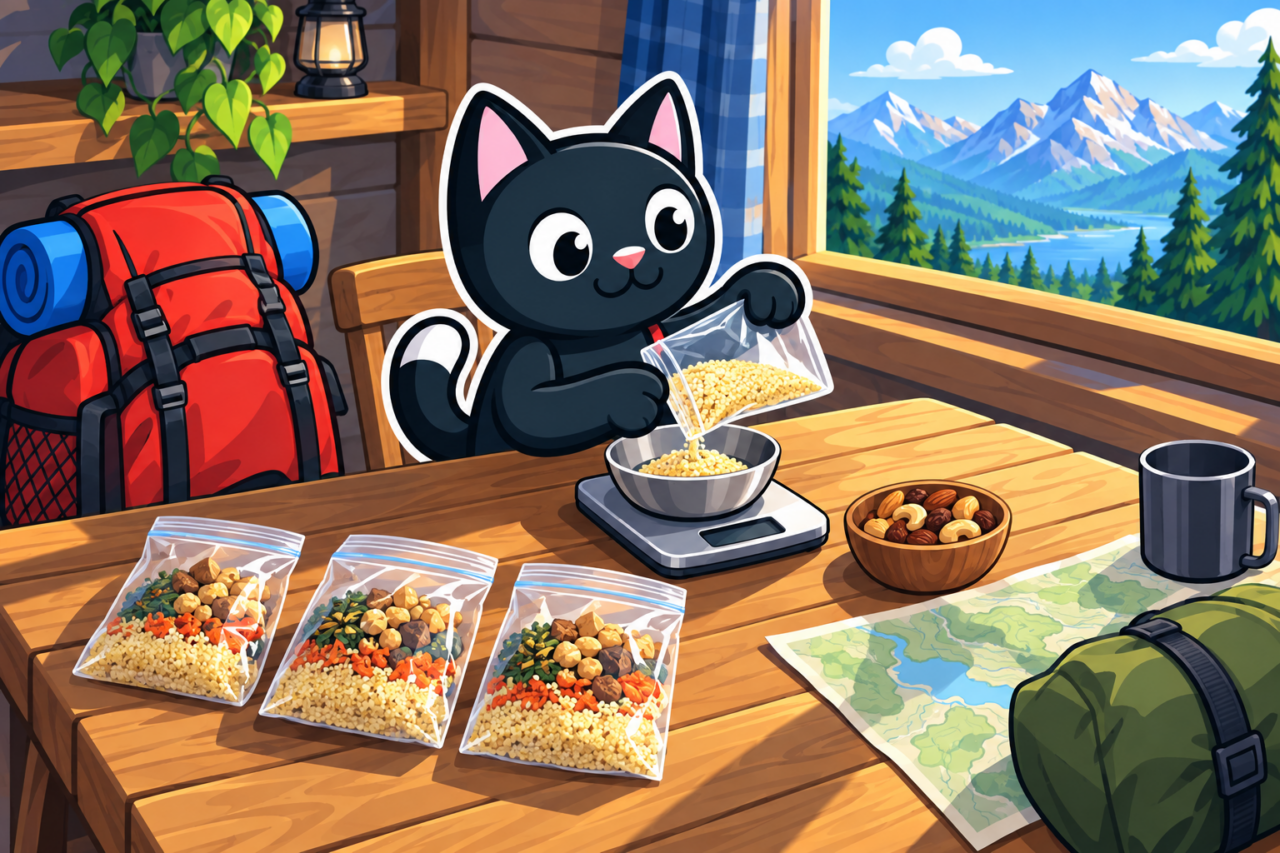
Your appetite at home is only a starting point for portion sizes. After a long climb, some people want seconds while fatigue temporarily reduces others’ interest in food. Before the trip, prepare one trail meal, weigh the dry ingredients, and note how much each participant eats. You will see who is satisfied with a standard portion and who needs more after exertion. Repeat the test on a practice walk: the conditions will be closer to the hike, making the total food weight easier to estimate.
Example: three participants were satisfied with 90, 110, and 120 grams of dry couscous. The shared pot therefore needs 320 grams if everyone eats the same amount. Calculate oil, dried vegetables, meat, and spices separately or the dinner’s total weight will be understated. For porridge, dried milk, nuts, and fruit also count toward the total. Keeping these components separate in the calculation reveals the full meal as you combine portions for packing.
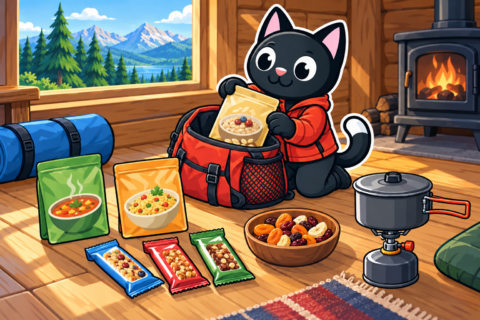
For packaged meals, read the total package weight, serving count, and cooking method. A small packet of soup rarely replaces a full dinner, and the group may not have enough food by evening. A large package, by contrast, may serve several people and should be divided in advance. Compare the figures with a test preparation to see how much food your own pot produces. Claims on the front of the package do not replace this information.
Build the menu day by day
In a table or notebook, record every dish, ingredient weight, and number of packages. When packing, you can then compare the menu with the actual bags and avoid omissions. Use label information to estimate energy: multiply calories per 100 grams by the actual weight and divide by 100. Add the main meals, sweetened drinks, oil, and every snack. Leaving small additions out of the calculation means the total no longer represents the full daily menu.
Weight alone says little about nutrition, so consider the composition as well. Nuts provide a lot of energy in little space, while fresh vegetables contain much water. Crackers take up space and require extra drinking water, which is particularly noticeable on a section without sources. Variety also helps: even a good bar becomes tiresome at every break. Alternating familiar foods keeps snacks appealing throughout the route.
There is no single calorie requirement for hiking because expenditure changes with conditions. Pace, terrain, temperature, body mass, and the length of the hiking day all affect it. For a short route, start with a familiar menu so the estimate rests on known portions. After returning, record leftovers and participants’ impressions: if food ran short after a climb, use that information next time. Over several trips, these notes give the group its own useful statistics.
Snacks and reserve food
Distribute each participant’s daytime snacks in the morning. The shared food bag can remain closed, and everyone can see what they have until evening. If the group separates during a break, each person’s portion remains at hand. Include salty and sweet choices and foods that are easy to eat while moving, as preferences change with weather and fatigue. This distribution also shows individual consumption without repeatedly counting the shared supply.
Pack and label emergency food separately so it is not mistaken for another snack. Relate the reserve to the route: a small amount may be enough near settlements, while a delay in a remote area has more serious consequences. Choose a realistic possible delay and calculate food for it. Imagine that reaching the road takes longer than planned; a separate bag immediately shows what remains for that period. If the resulting weight is excessive, shorten the self-supported section or arrange a resupply.
Packing and conclusions
Group food by meal and remove unnecessary boxes to save space. Keep cooking instructions and allergen information so the group can check the ingredients and method beside the pot. Pour oil and sauces into food-safe containers with secure lids, then test them over a sink. A leak found at home cannot spoil the backpack‘s contents on the trail. Divide shared food among participants while accounting for the weight of their other equipment.
After the hike, note what remained, what ran short, and which meals people enjoyed. Record portions that repeatedly returned to the bag so they can be estimated more accurately next time. These observations are more useful than a universal table because they reflect your own group’s appetite. Write them down soon after returning while impressions of the menu are fresh. The next food plan can then be lighter and more convenient.
Make a final check
The day before departure, arrange labeled portions in order and walk through the route calendar again. For every meal, identify the base, additions, and cooking water; an empty place in the row of bags will reveal an omission. Check that fuel, salt, and drinks cover the planned dishes. Count food for participants with special restrictions separately so it cannot accidentally disappear into the shared pot. This check connects the menu, packaging, and cooking method before the start.
Photograph the layout and save the list offline on your phone. The package order will then remain available without service on the route. If a bag is lost or its label becomes wet, the record makes it easier to understand exactly what is missing. The group can redistribute the remaining menu using the list of dishes and portions.